
Sterilizing glass jars is an essential step in canning to ensure food safety and preserve freshness. Let’s break down the process into simple, practical steps.
How to sterilize glass jars for canning?
To sterilize glass jars for canning, wash them with warm, soapy water, rinse thoroughly, and then boil in water for 10 minutes. Remove carefully and let them air-dry.
Getting the jars ready for canning is just the start. Let's dive into specific methods to make sure you do it right every time.
1.Why is sterilizing glass jars necessary?
Sterilizing jars prevents bacteria, yeast, and molds from spoiling your canned food, ensuring long-lasting freshness.
Why sterilize glass jars?
Sterilization eliminates harmful microbes, creating a safe, sterile environment for food preservation. This is vital for maintaining quality and preventing spoilage.

Sterilizing glass jars isn’t just about safety; it’s also about quality. A properly sterilized jar ensures your canned goods taste as fresh as the day you made them. Here’s why it matters:
Preserving Food Safety
Bacteria and molds thrive in unsterilized environments, compromising the safety of canned food. Proper sterilization removes this risk.
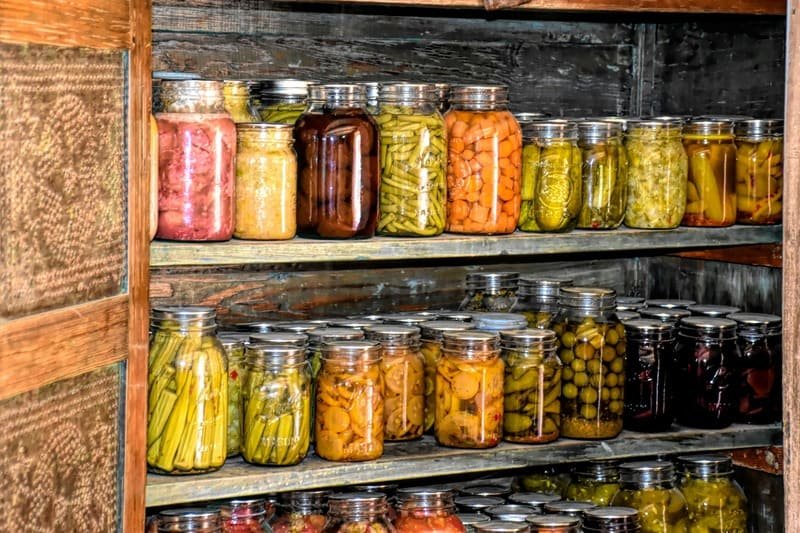
Enhancing Shelf Life
Sterilized jars help maintain the flavor, texture, and nutrition of canned food by keeping contaminants out.
Meeting Industry Standards
If you’re selling or gifting canned goods, a sterilization step ensures professional quality and earns customer trust.
2.What materials do you need for sterilization?
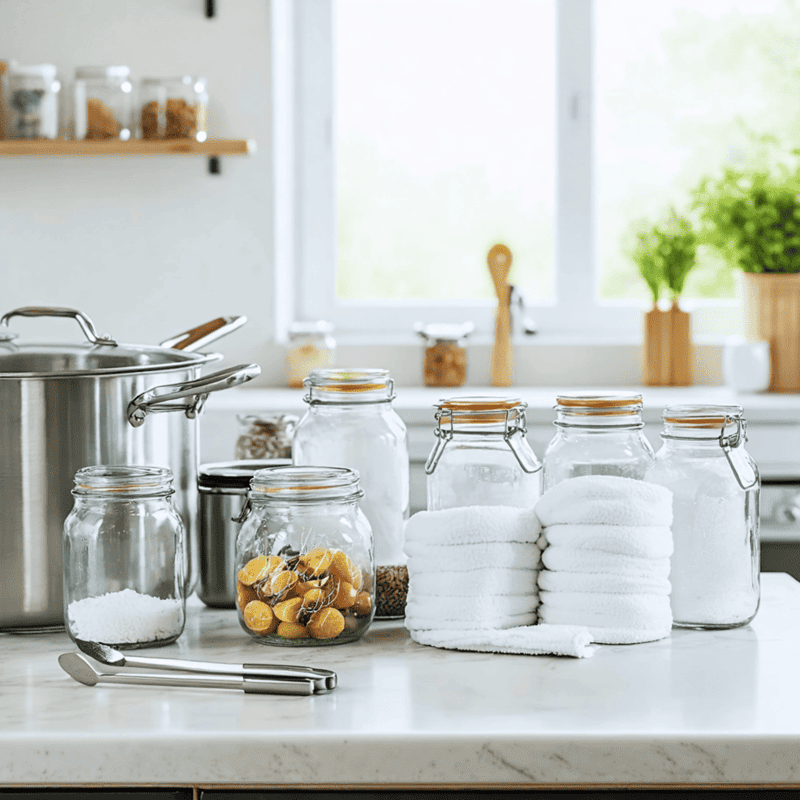
A few basic tools make sterilizing jars straightforward and manageable.
What materials are required?
You’ll need glass jars, lids, tongs, a pot large enough for boiling, and clean kitchen towels for drying.
Having the right tools on hand simplifies the process and saves time. Here’s what you need:
| Item | Purpose |
|---|---|
| Glass jars | To store canned goods |
| Lids and rings | To seal jars securely |
| Large pot | For boiling and sterilizing |
| Jar lifter/tongs | To handle hot jars safely |
| Clean towels | For air-drying the jars |
3.What are the best sterilization methods?
There are different ways to sterilize jars, each suited to specific needs and equipment.
What are the top methods for sterilization?
The most common methods include boiling, oven sterilization, and using a dishwasher. Each method ensures sterile jars for safe canning.
Boiling Method
- Wash jars with warm soapy water and rinse well.
- Place jars in a large pot, fully submerging them in water.
- Bring the water to a boil and let it boil for 10 minutes.
Oven Method
- Wash and rinse jars as usual.
- Preheat the oven to 275°F (135°C).
- Place jars on a baking sheet and heat for 20 minutes.
Dishwasher Method
- Load jars into the dishwasher, ensuring they are spaced apart.
- Use the hottest cycle with no detergent.
Each method has its advantages, so choose the one that fits your equipment and workflow.
How to Sterilize Lids?
Lids require special care during sterilization to maintain their sealing quality.
- Wash lids with warm, soapy water and rinse thoroughly.
- Submerge them in hot (not boiling) water for 5 minutes before use.
- Tip: Avoid boiling the lids to prevent damaging the rubber seal.
This step ensures the lids are clean and ready to provide an airtight seal for your canned goods.
4.When should you sterilize jars for canning?
Timing is critical when preparing jars to prevent contamination before sealing.
When is the best time to sterilize jars?
Sterilize jars just before filling them with food to minimize exposure to air and contaminants.
Sterilizing jars right before use is crucial because:
- Prevents Re-contamination: Jars exposed to air can quickly become contaminated.
- Improves Seal Integrity: Warm jars are less likely to crack when filled with hot food.
- Streamlines the Process: Sterilizing jars while preparing food saves time.
Keep your jars hot and ready to ensure the process is seamless from sterilization to sealing.
Conclusion
Sterilizing glass jars is the cornerstone of safe canning. With clean, sterile jars and lids, you’re setting the stage for delicious, long-lasting homemade preserves.


